Configuring a CMW Platform Instance
1. Launch the Administration Tool (see Launching the CMW Lab Administration Tool).
2. Select a CMW Platform instance to configure from the Product instances list.
3. Click Configure.
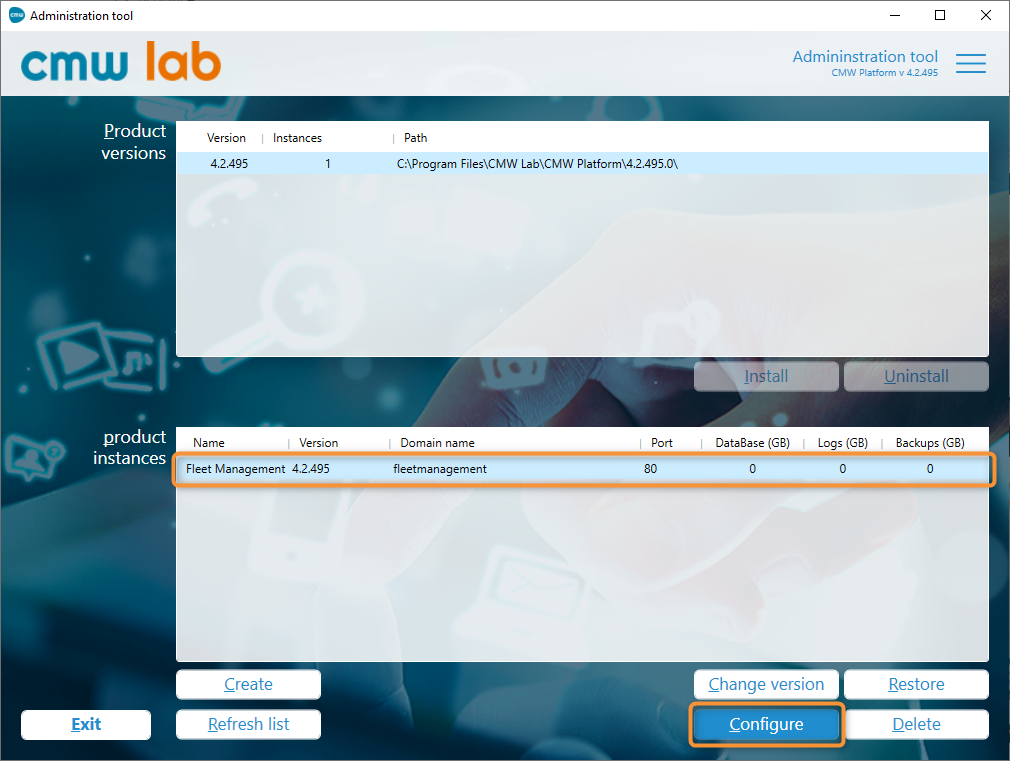
Selecting a CMW Platform instance to configure
4. The Product instance configuration window appears with the following tabs:
- IIS
- Instance paths
5. IIS tab — configure the Internet Information Services for the instance website.
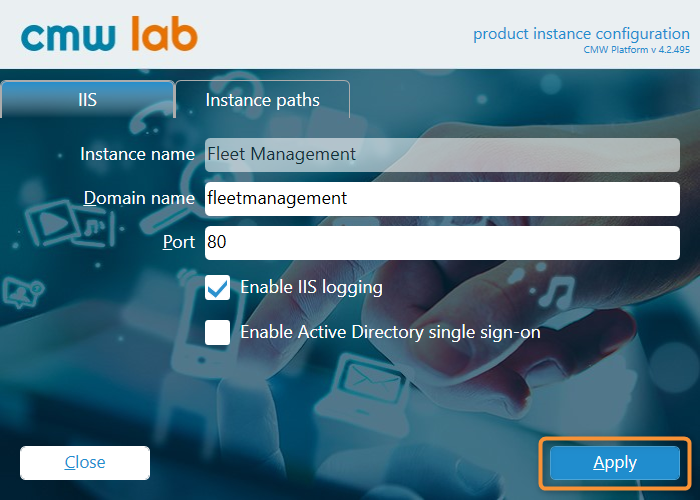
Configuring the IIS for the instance
- Instance name — the instance name is read-only. It is set upon the instance creation.
- Domain name — enter the website domain name for the instance.
- Port — enter the website port number for the instance.
- Enable IIS Logging — check this box to turn on the Internet Information Services logging for the instance.
- Enable Active Directory single sign-on — check this box to enable login to the instance website via the Active Directory.
5.1. Click Apply to save the IIS configuration.
5.2. A message should appear indicating the successful configuration update.
5.2. Click Close.
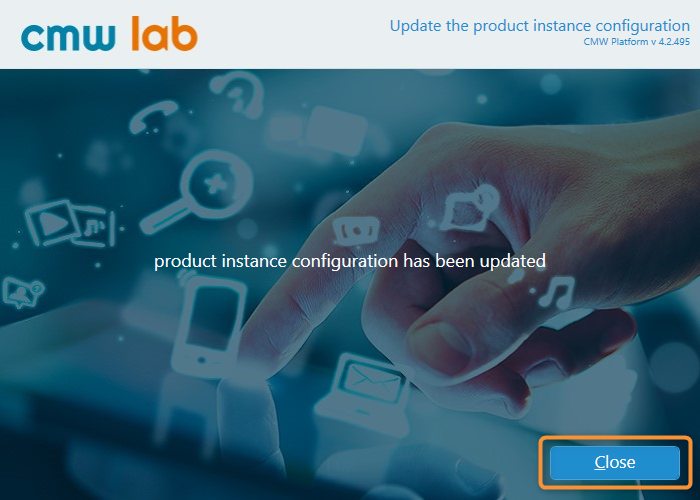
The instance configuration update success message
6. Instance paths tab — view and configure the instance data locations, or move the instance data to the new folders if needed.
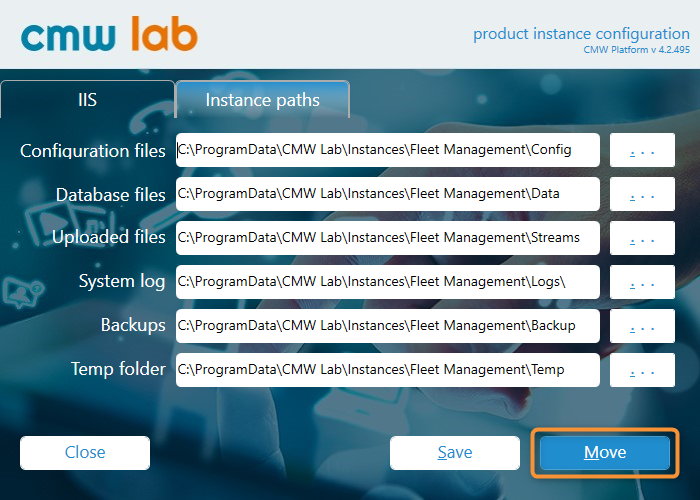
Moving the instance data to the new locations
6.1. Specify the required paths to store the instance data.
6.2. To move the instance data to the new folders, click Move.
6.3. Confirm the move.
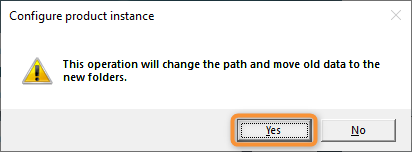
Confirming the instance data move
OR…
6.3. To change the instance paths without moving the existing data, click Save.
6.5. Confirm the paths change without moving the instance data.
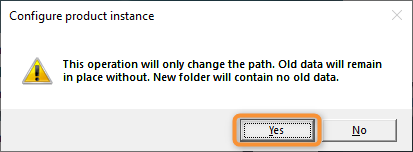
Confirming the instance paths change without moving the data
6.6. The Administration Tool will change the instance paths and, if necessary, move the data to the new folders.
6.7. A message should appear indicating the successful instance paths change.
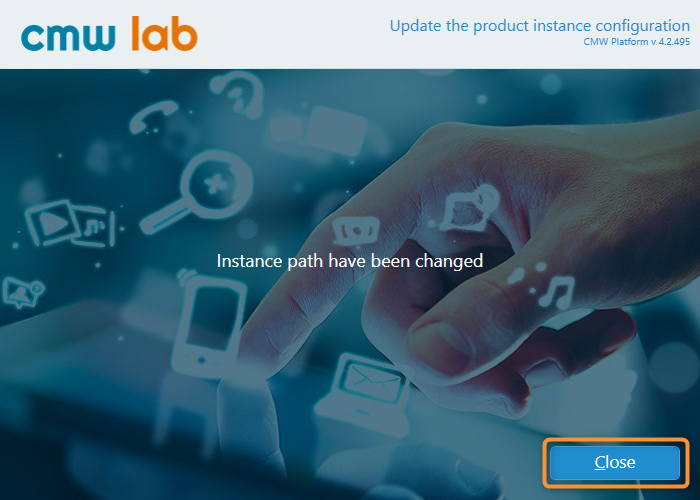
The instance path change success message
