Creating a CMW Platform Instance
1. Launch the Administration Tool (see Launching the CMW Lab Administration Tool).
2. Click Create.
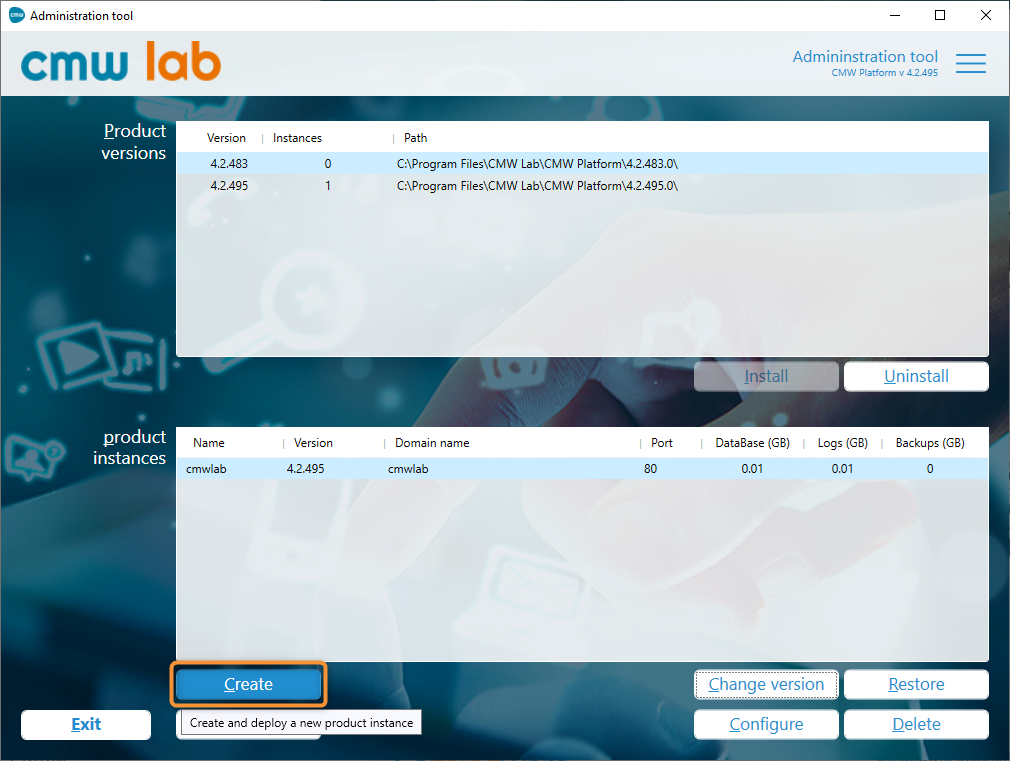
Creating a new instance
2. The Creating a product instance window appears.
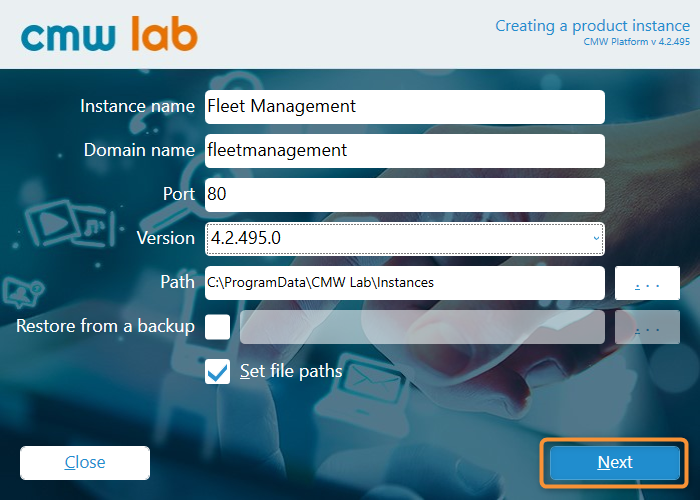
Configuring a new instance
3. Specify the parameters of the new system instance.
- Instance name — enter a unique name to identify the instance. You won't be able to change the instance name after creating the instance.
- Domain name — enter a domain name to access the instance website.
- Port — enter a port number to access the instance website.
- Version — select a CMW Platform software version for the instance.
- Path — specify a folder to deploy the instance.
- Restore from a backup — check this box and select a
.CDBBZbackup file to deploy the instance from a backup (see Creating a CMW Platform Instance from a Backup. - Set file paths — check this box to change the default folders for the instance files.
4. If you checked the Set file paths box, click Next.
4.1. The Set product instance file paths window appears.
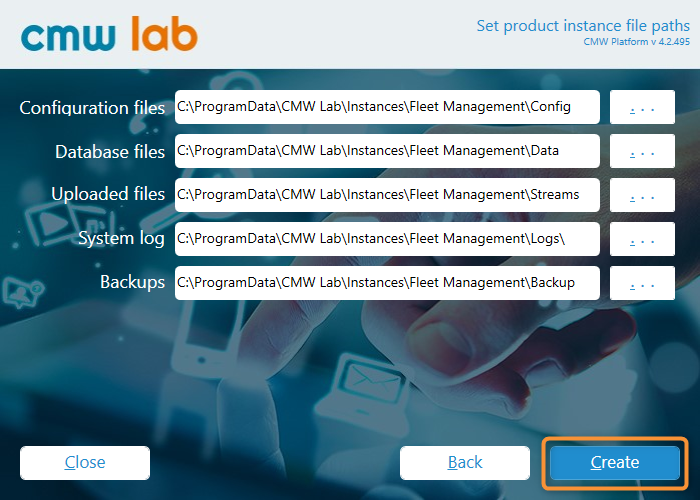
Configuring the instance file paths
4.2. Specify the paths for the instance files.
5. Click Create.
6. The Administration Tool will create a new instance.
7. A message should appear indicating the instance creation success.
8. Click Close.
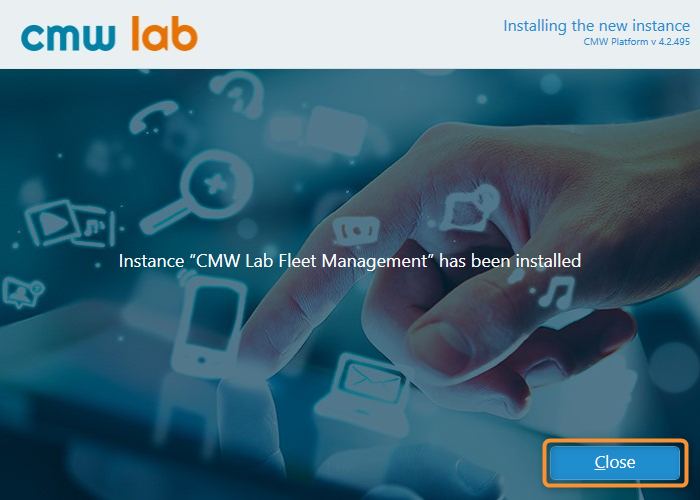
The instance creation success message
9. The new instance will appear in the Product instances list.
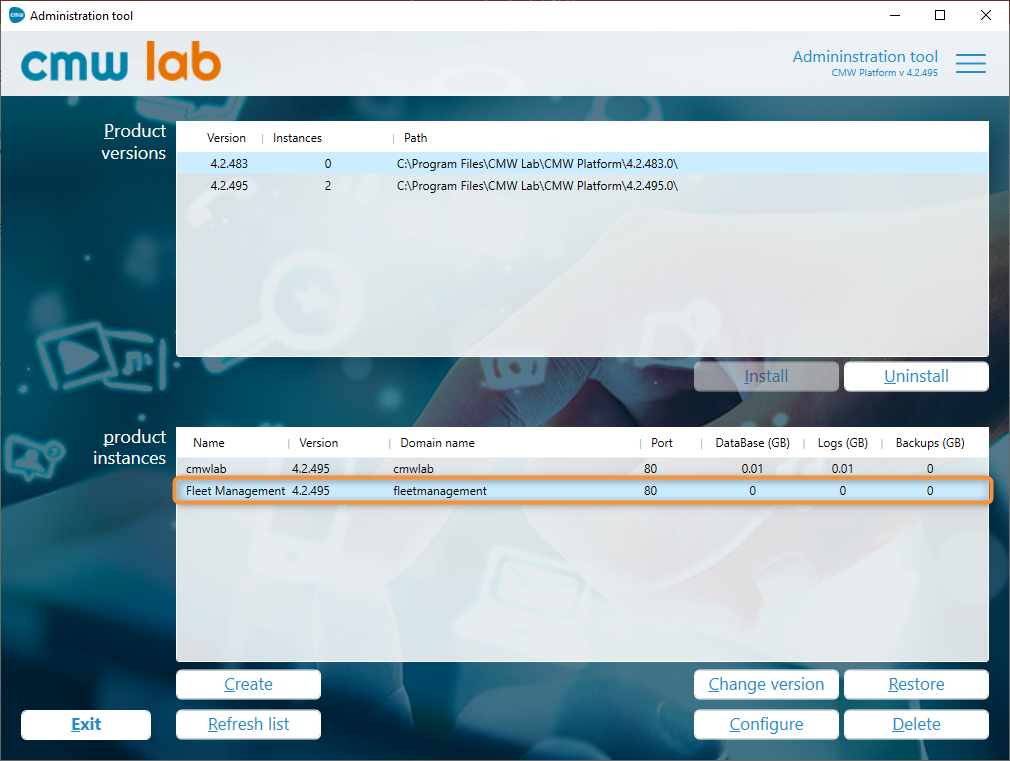
New instance in the product instances list
10. The new instance website will appear in the Internet Information Services (IIS) Manager.
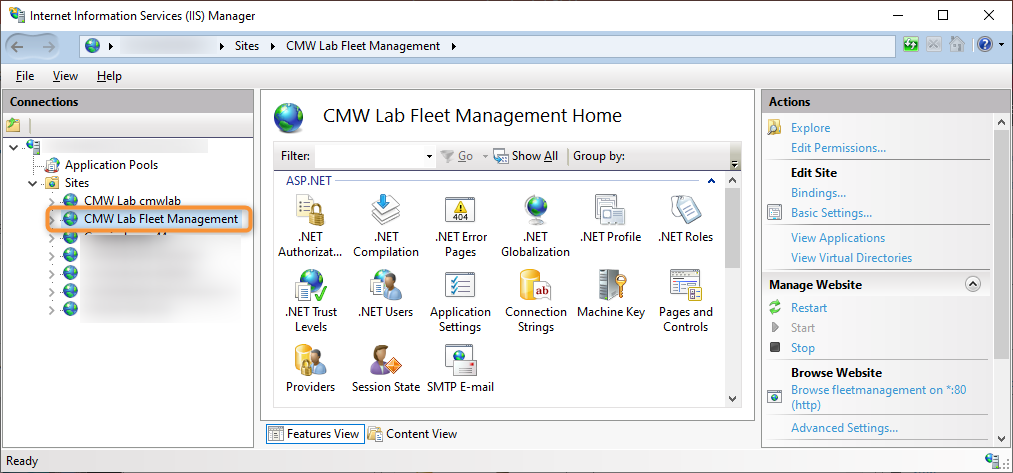
The instance website listed in the Internet Information Services (IIS) Manager