Lesson 2 — My First Data Registry
Table of Contents
Introduction
In this lesson, you will create and configure an application, a record template and its attributes, a table with data filters, and a form. Then, you will create and fill the records with some data.
Estimated time to complete: 15 min
Prerequisite: complete Lesson 1 — Getting Started
Note: This lesson is for the CMW Platform version 4.2.571.0. In other versions, the page and menu appearance may differ from the screenshots.
Definitions
- Application — a standalone business solution within the CMW Platform.
- Record template — a data registry in the CMW Platform (similar to a relational database table or an Excel sheet).
- Record — a data entry (consisting of attributes) related to a business object.
- Attribute — the simplest data element related to a business object (similar to a column in a relational DB or Excel): pick-up point (string), count of passengers (number), сar delivery time (date/time), car (link), etc.
- Table — a list displaying records in rows with attribute values in columns. You can configure table filters to display a subset of records.
- Form — a page with fields to display and enter the record data.
Create Application
Business Requirement
Throughout the tutorial lessons, we will develop a corporate vehicle booking application.
We will implement the following vehicle booking process:
- The Initiator submits a vehicle request.
- The Secretary reviews and approves or rejects it.
- If the request is approved:
- The Garage manager assigns a vehicle for the trip.
- The Driver completes the trip.
- If the request is rejected, the Initiator receives the rejection notification.
Let's create an application to automate corporate vehicle booking.
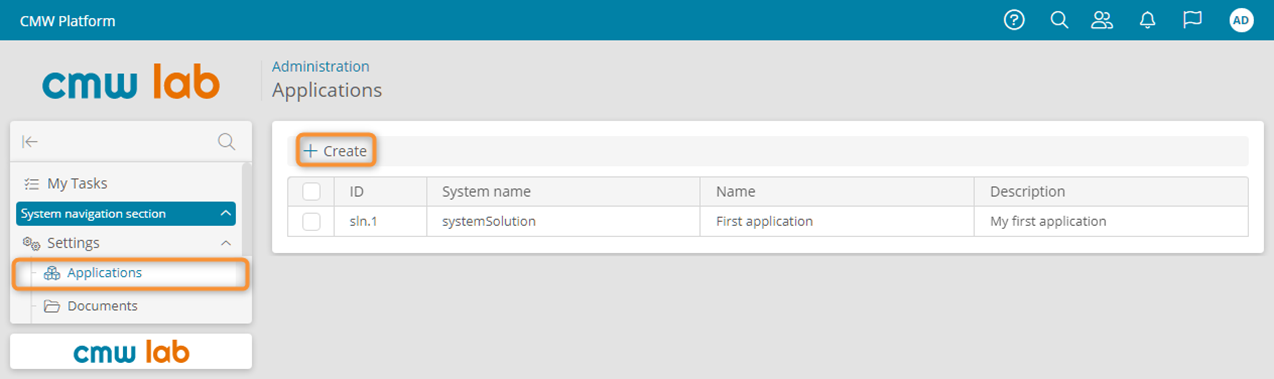
1. Select System navigation section – Applications in the left navigation pane.
2. Click Create.
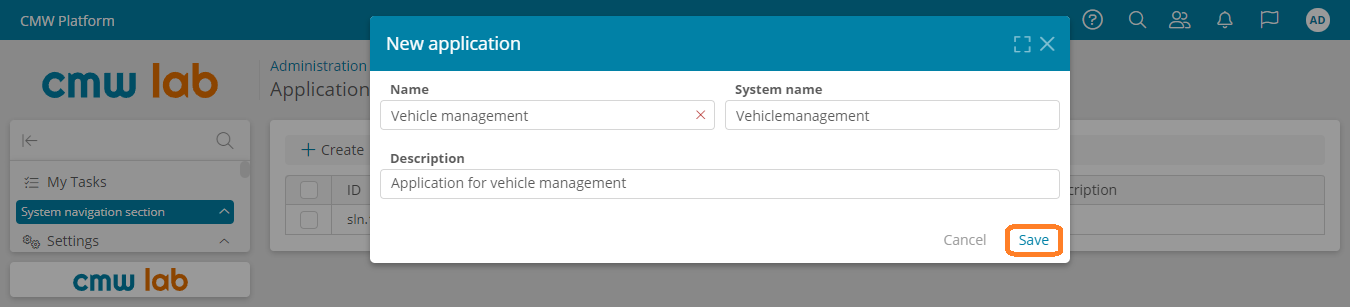
3. In the New application window, enter the application Name — Vehicle management. The System name is generated automatically from the application Name. Change the system name if needed.
System Name and Display Name
- The System name is an entity identifier used in scripts, rules, formulas, and expressions. The system name can include English letters (A–Z, a–z), numbers (0–9), and underscores (_). The system name must not start with a number.
- The Name or Display name is used as a human-readable entity descriptor, can include any characters, and should be concise and self-explanatory.
4. Click Save.
Configuring a new application
5. In the application list, double-click your application to open its Administration page.
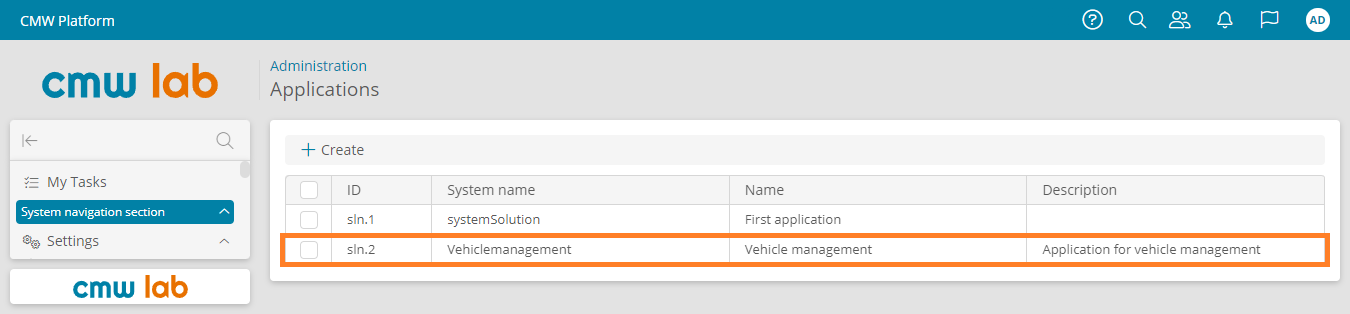
List of applications
Create Record Template
Let's define the vehicle request data to store in a record template — the data registry.
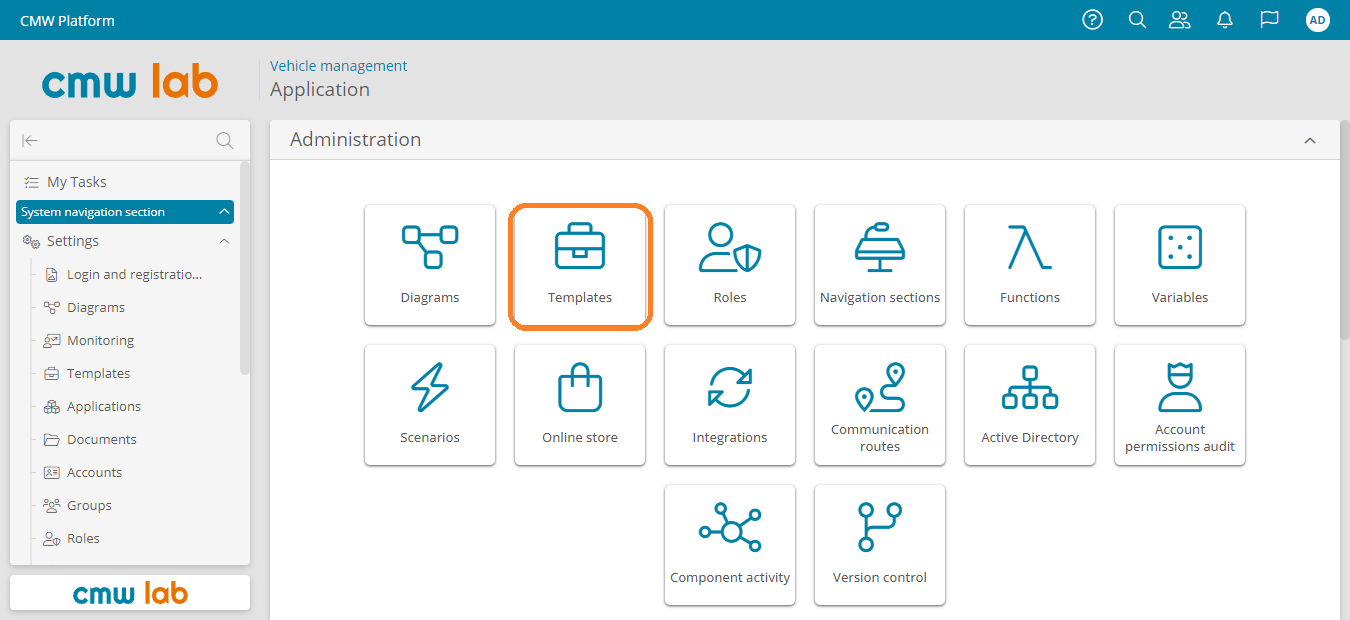
1. Open the Vehicle management application Administration page and select Templates.
Navigating to the application Templates page
2. Go to the Record templates tab.
3. Click Create.
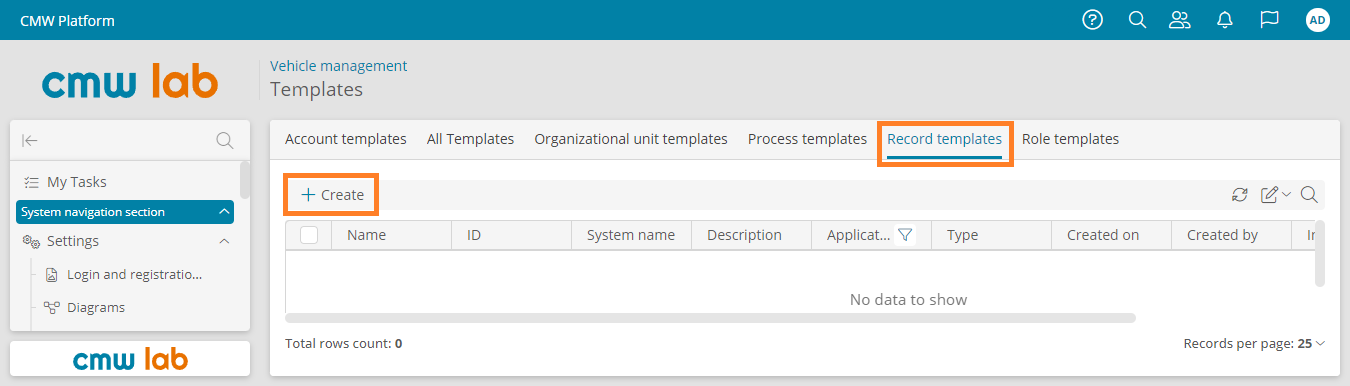
Creating a record template
4. In the New template window, enter the template Name — Vehicle requests.
5. Make sure the Template type is set to Record template.
6. Click Create.
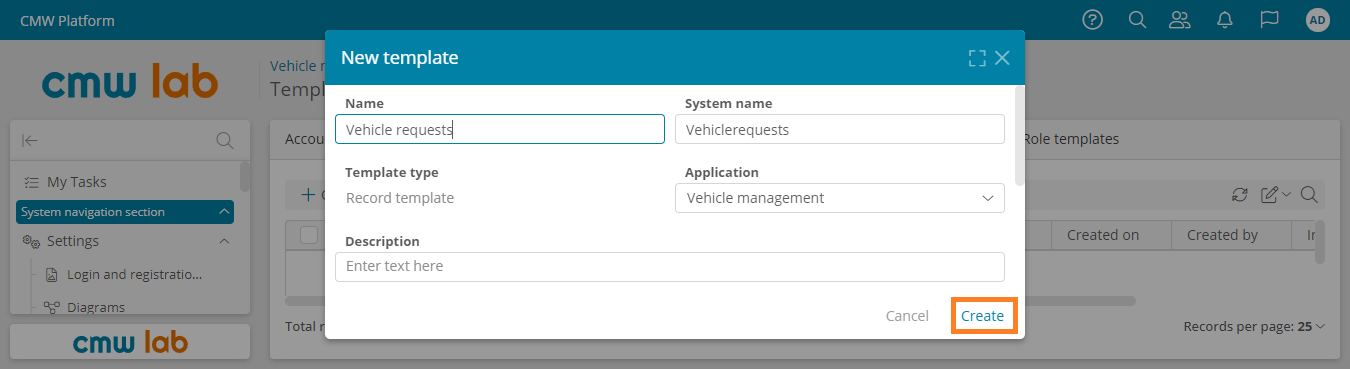
Configuring a new record template
Add Record Template Attributes
Let's add the vehicle request attributes.
1. Open the Vehicle Requests template page and go to the Attributes tab.
2. Click Create.
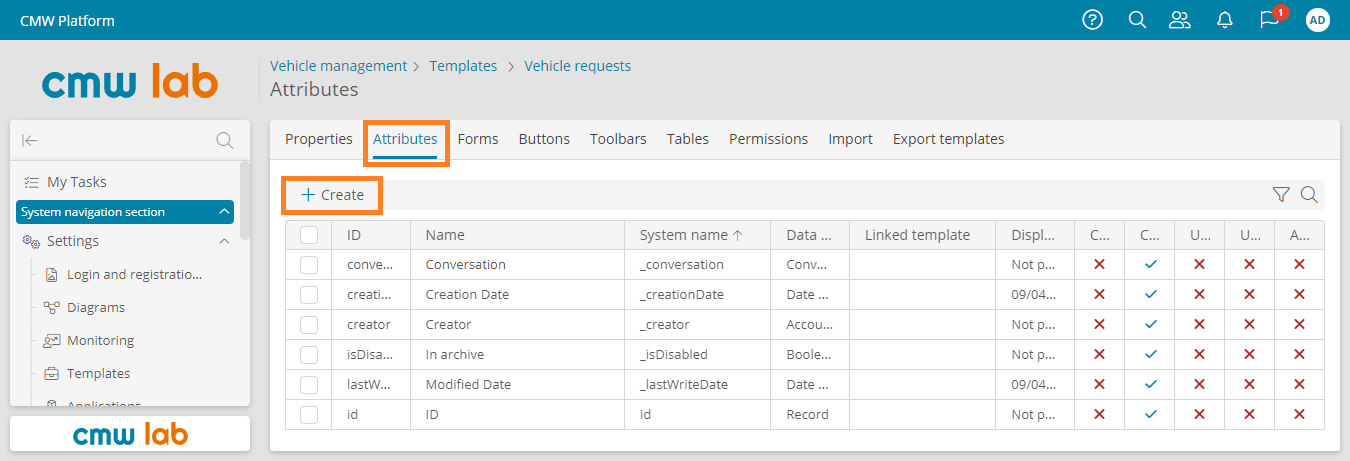
Adding an attribute
3. In the New attribute window, select Text as the data type and enter the attribute Name — Pick-up point. The System name is filled in automatically.
4. Click Save.
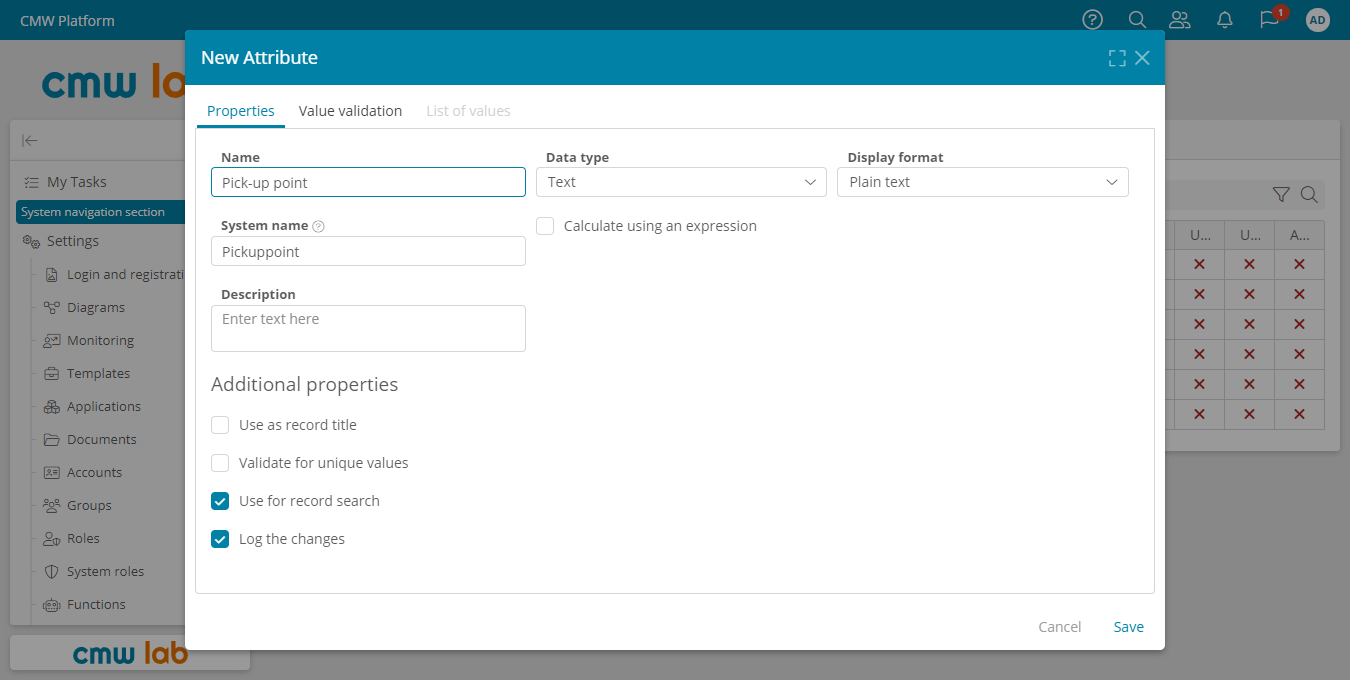
Configuring a new attribute
5. The same way as above, create the following attributes:
- Car delivery time
- Data type: Date & time
- Route
- Data type: Text
- Passengers
- Data type: Number
Attribute Types
- Text — string value. Supported display formats:
- Plain text — no formatting.
- Marked text — basic formatting (bold, italic, lists).
- HTML text — advanced HTML formatting.
- Email address, Custom mask — the attribute value is formatted using a regular expression mask.
- Number — numeric value. You can select the number of digits to display after the decimal point:
- Do not parse — display the value as entered.
- 0 — display the value as an integer.
- 1–6 — display the value with the specified number of decimal places.
- Date & time — date and time value. Several display formats are supported to show the date only or the date and time.
- Document — uploaded data files (DOCX, PDF, ZIP, etc.) Supported display formats: Without preview, With preview, Digitally signed document.
- Image — uploaded image files (PNG, JPG, etc.) Supported display formats: Original, Greyscale, 1-bit (black & white).
The CMW Platform also supports the following attribute types: Account, Hyperlink, Barcode, Duration, Record, Boolean, Organizational Unit, Role, and List of Values. We will learn to use some of them later.
You have created the minimum attribute set required to submit and process a vehicle request.
Note
Following the agile methodology, initially, we don't define all the attributes and create only the necessary minimum.
We aim to develop a functioning application and demonstrate it to the first users as soon as possible.
Then, based on the user feedback, we will add more attributes and improve the app.
Create a Form
Let's create a form with the fields to enter and edit the vehicle request data.
1. On the Vehicle requests template page, go to the Forms tab.
Each record template contains a default form, and we'll customize it.
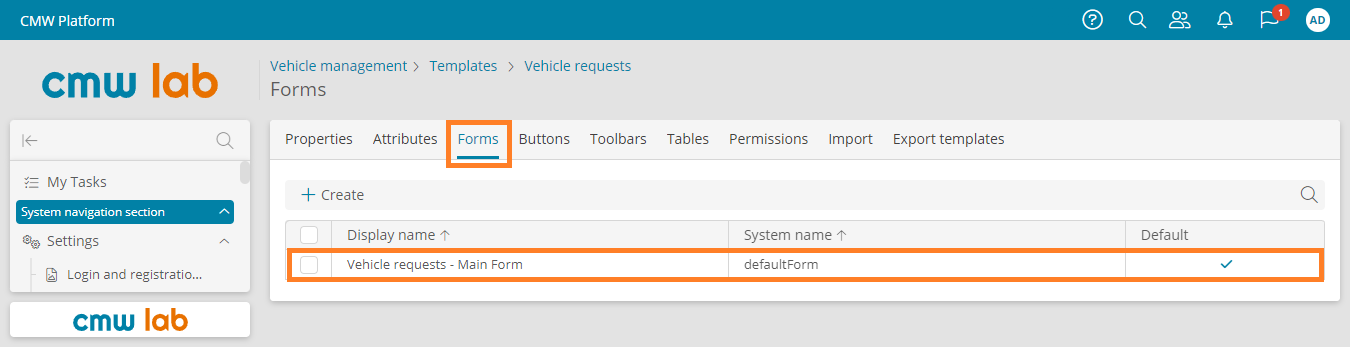
Opening the default form for editing
2. In the form list, double-click the Vehicle requests - Main Form. The form designer appears.
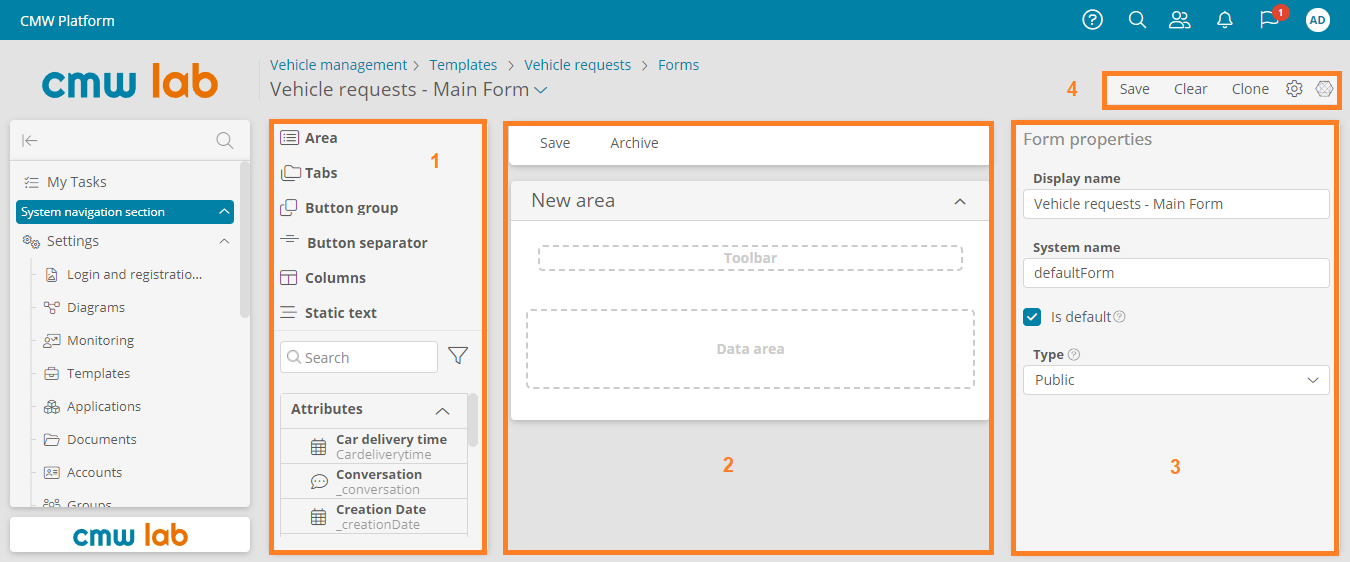
Form designer
Form Designer
There are four areas in the form designer:
- Element pane — a list of elements that you can place on the form: attributes, forms, buttons, and visual elements.
- Form layout — the form editing and preview area. To place elements on the form, drag them to the layout from the element pane. To delete elements from the form, drag them outside of the layout.
- Properties pane — allows you to view and configure the properties of the selected form element.
- Buttons — Save, Clear, Clone, Configure template , Relations .
3. The form has a default New area element.
4. Drag the Car delivery time attribute to the New area from the element pane.
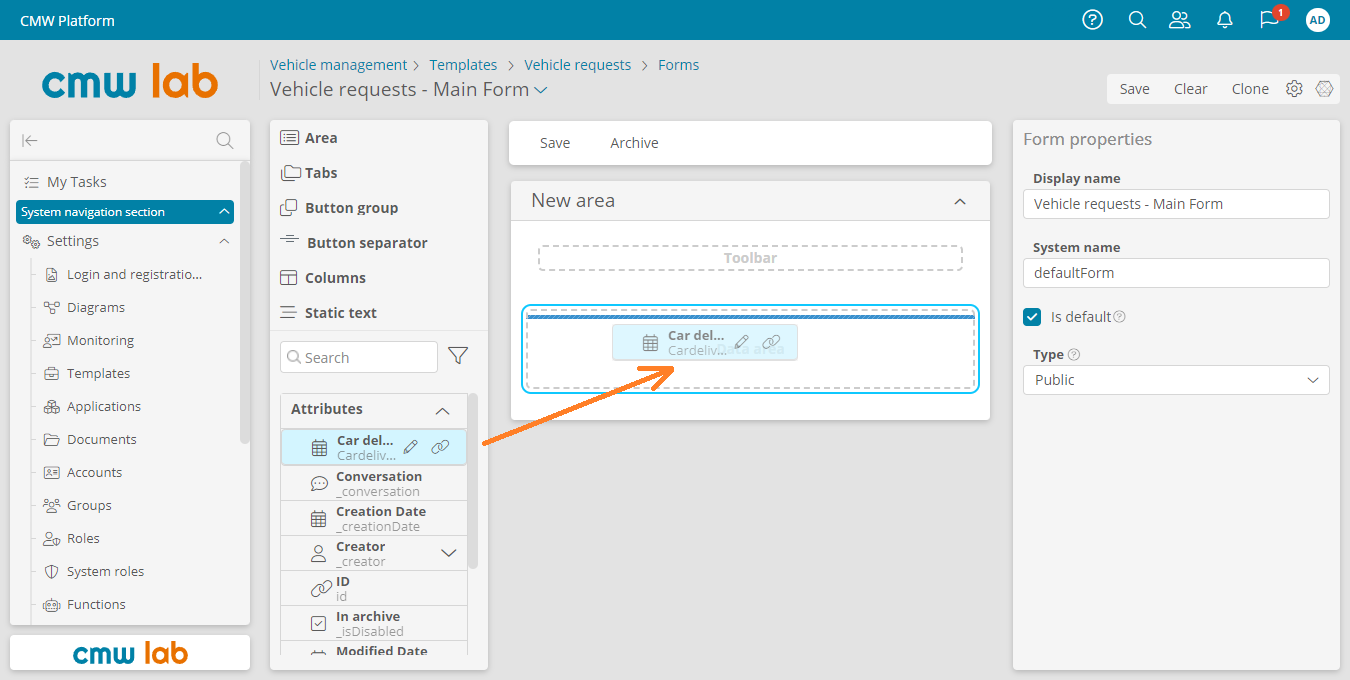
Dragging an attribute to the form
5. Drag the attributes Pick-up point, Route, and Passengers to the New area.
Business Requirement
In the Car delivery time field, the Initiator should enter the date and time. The default display format for this attribute shows only the date. We will change the display format to include the time.
6. In the element pane, click the Edit icon next to the Car delivery time attribute.
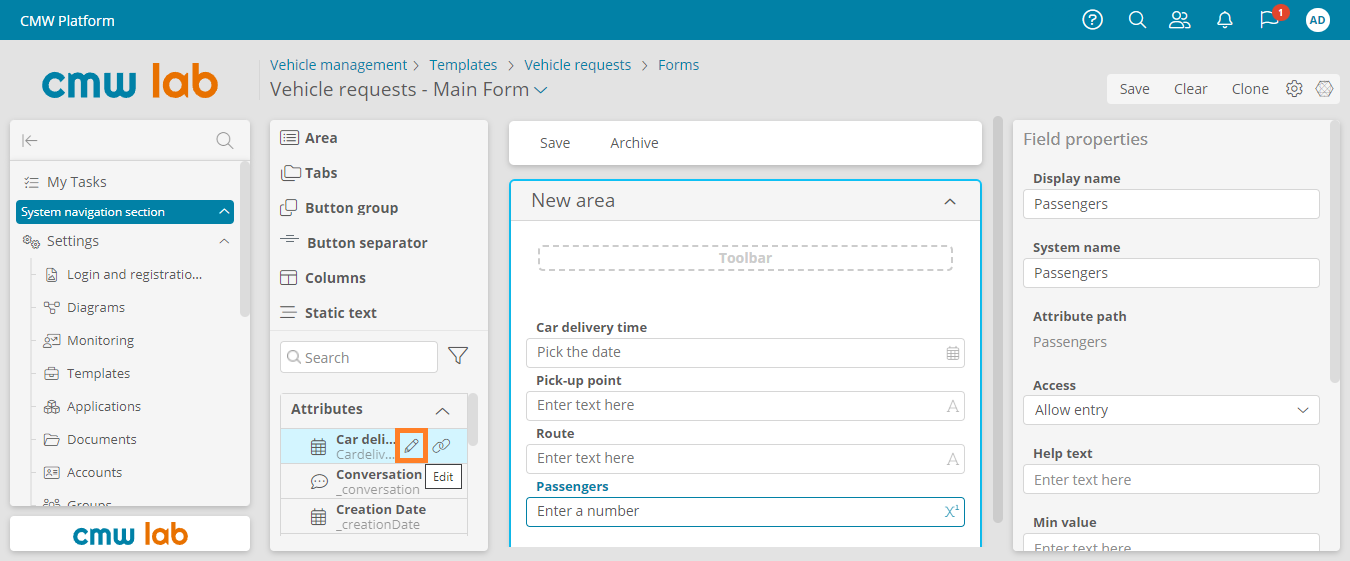
Editing an attribute using the form designer
7. In the attribute properties window, choose a display format that includes time, e. g. Sep 4. 1986 07:30, and click Save.
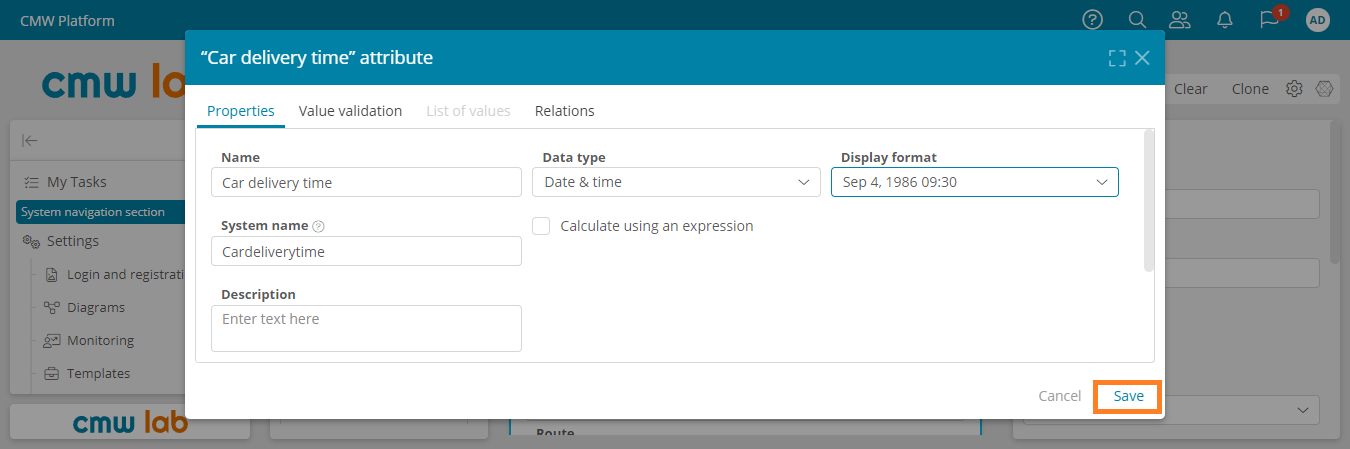
Editing the attribute properties
8. Select the Car delivery time field on the form. In the Access dropdown on the Field properties panel, select Require entry.
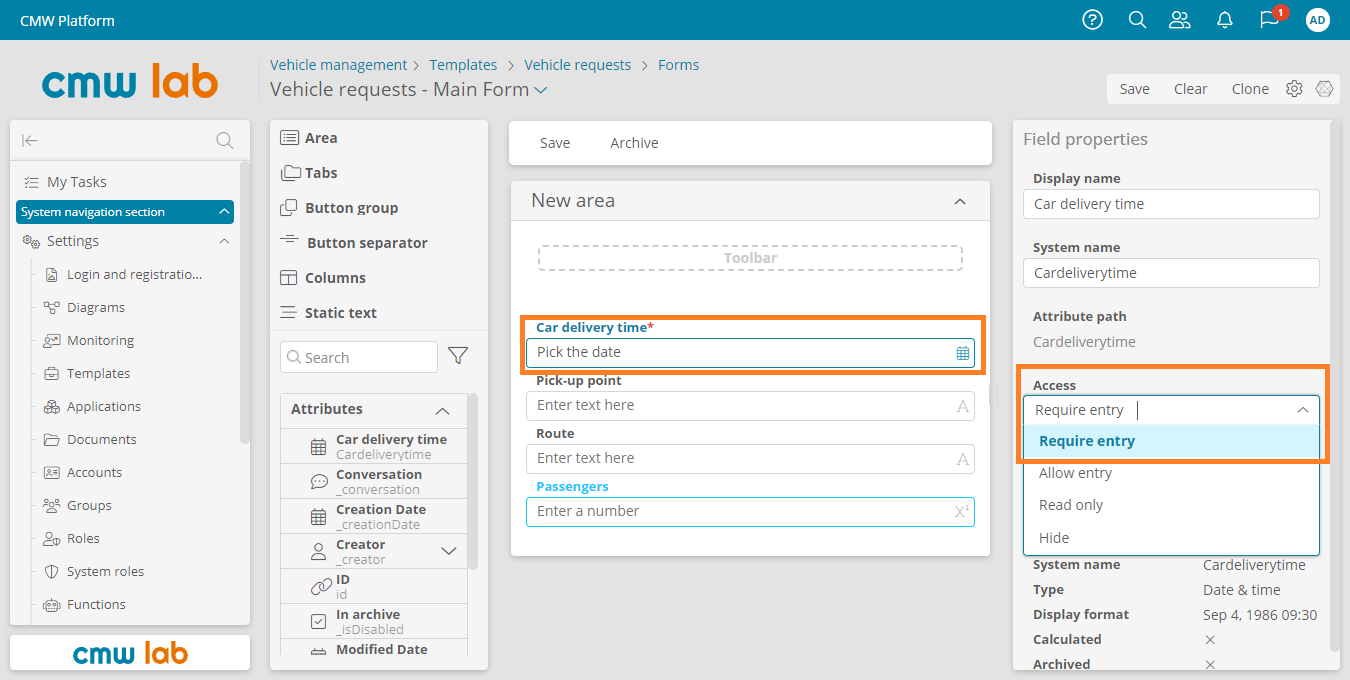
Changing the form field access mode
9. Set the Require entry access mode for the Pick-up point field.
Use the following elements to make the form more user-friendly:
- Area — visually groups the fields, has a title, and can contain buttons. The form must have at least one area.
- Static text — displays a read-only text.
- Tabs — distribute the fields into user-selectable tabs.
- Columns — arranges fields in several columns.
10. Drag the Columns element to the form from the element pane.
11. Drag the Car delivery time and Pick-up point attributes into the left and right columns.
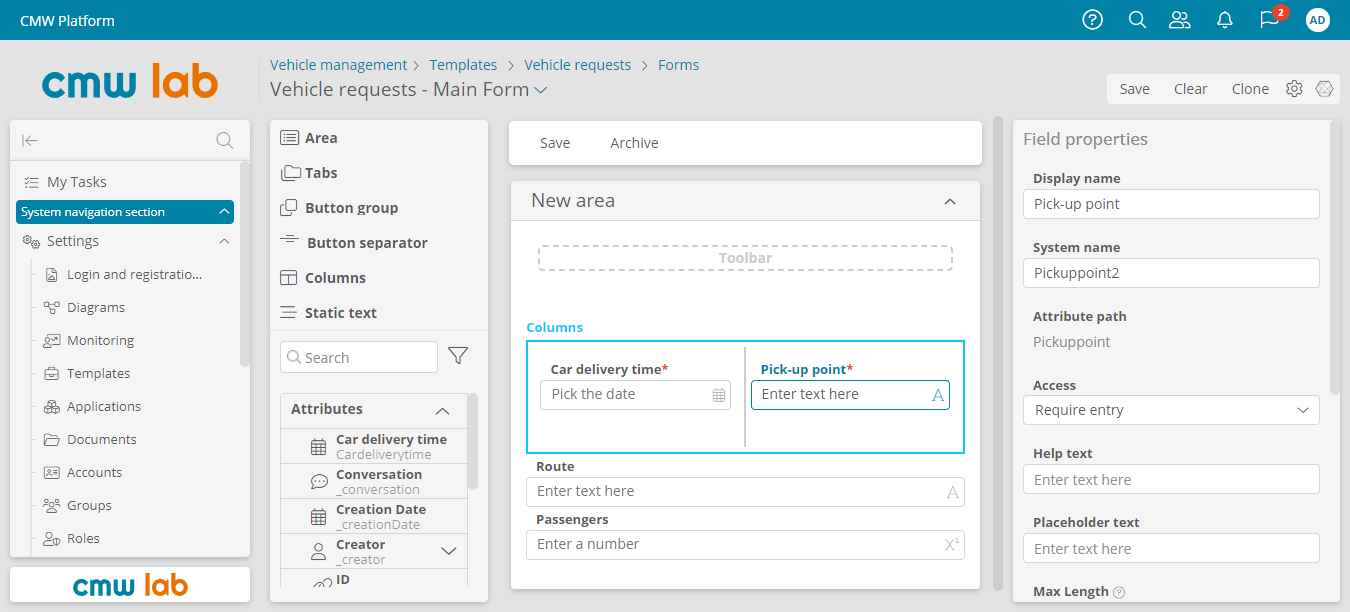
Placing fields into the columns
12. Rename the default New area: select it, and in the Area properties panel, enter the new Display name — Vehicle request form.
13. To save the form, click Save.

Renaming an area and saving the form
The form designer provides many functions. Try to experiment with the elements and settings in the form designer.
Test: Enter and Edit the Data
We have created the vehicle request form. Let’s test it as an Initiator.
1. Click Configure template .

Navigating to the record template settings
2. Click Navigate to instances to open the record list.
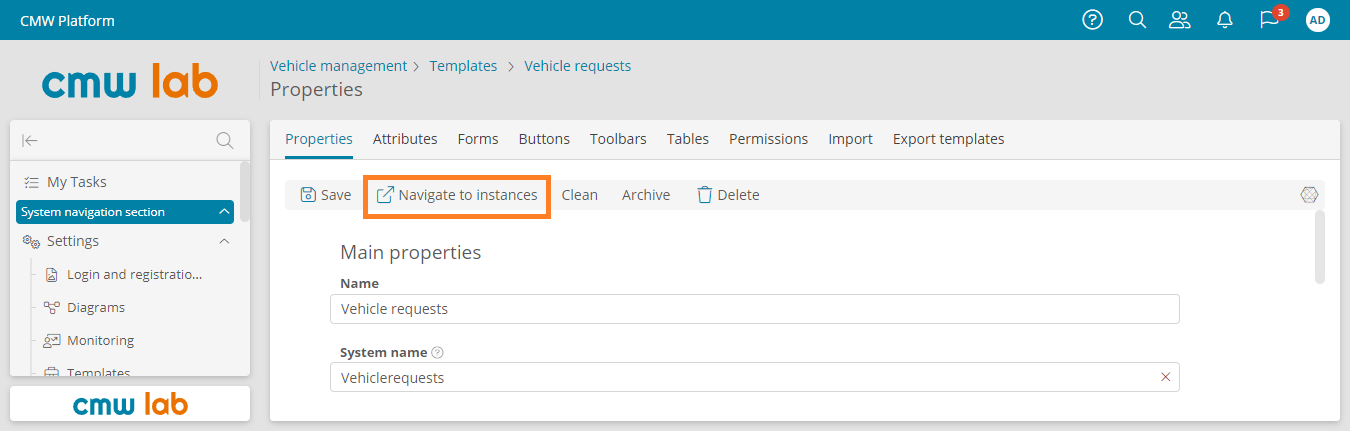
Navigating to the record template instances
3. Click Create to fill in a new vehicle request.
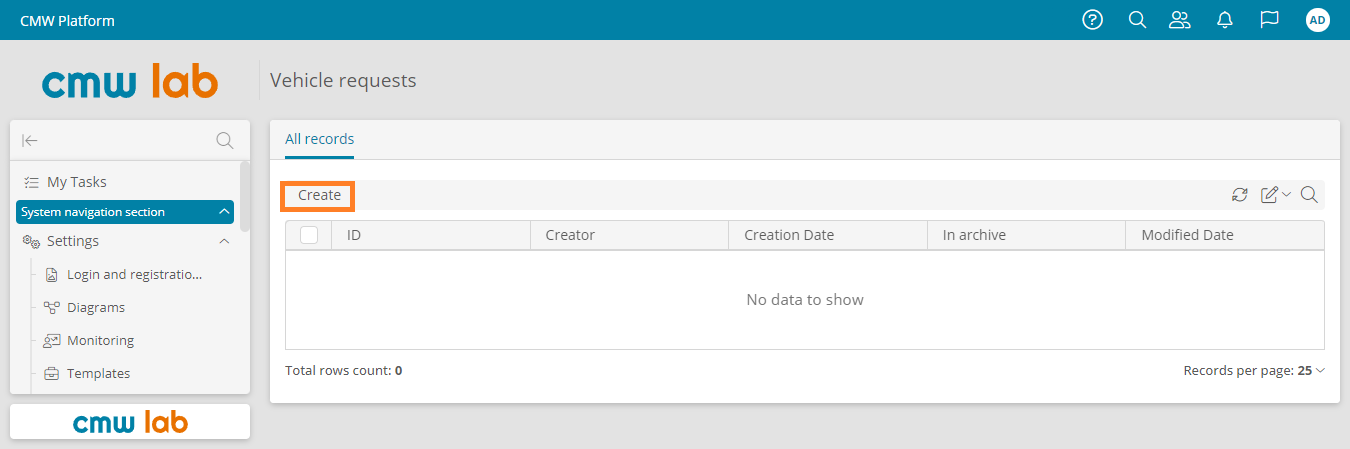
Creating a new record
4. The vehicle request form appears. Fill in all fields and click Save.
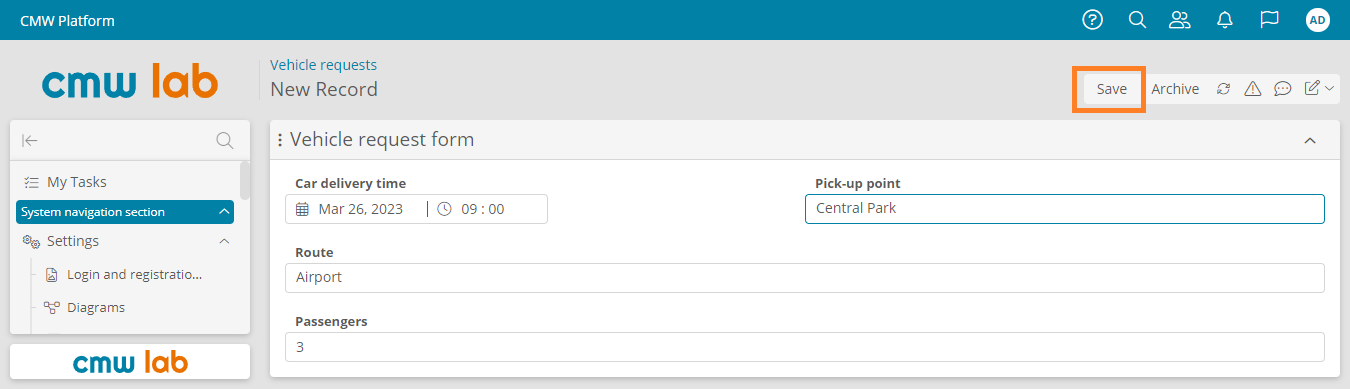
Filling out and saving the vehicle request form
5. Click the Vehicle requests link above the form to return to the request list.
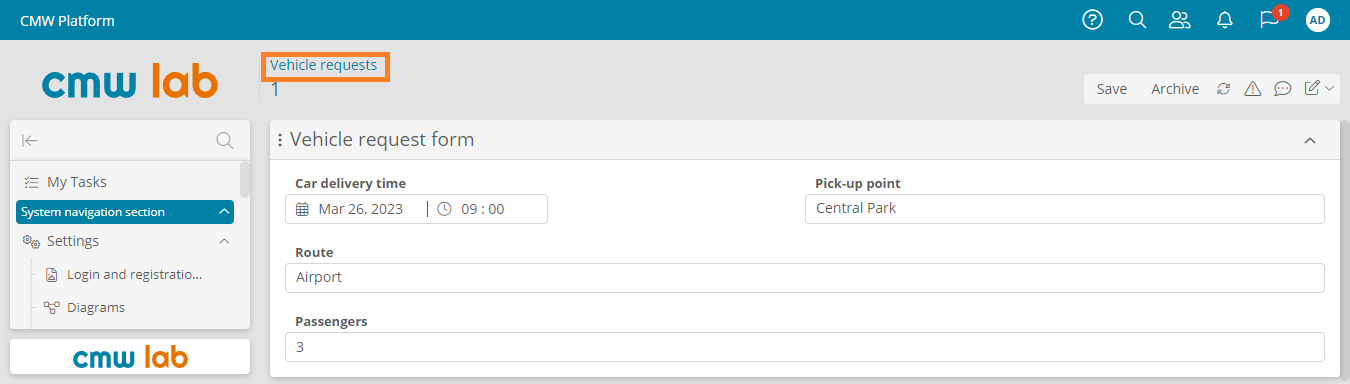
Navigating to the record list from the record form
6. Create several vehicle requests as you did above. The records will appear in the list.
7. Go to the vehicle request list and double-click a request to open and edit it.

Opening an entry by double-clicking on it
Finalize the Form: Add the Secretary's Approval Status
The Secretary must review the created request, but our record template lacks an attribute for the approval result. Let's add this attribute.
1. To open the record template settings, click the My settings icon above the All records table and select Configure template.
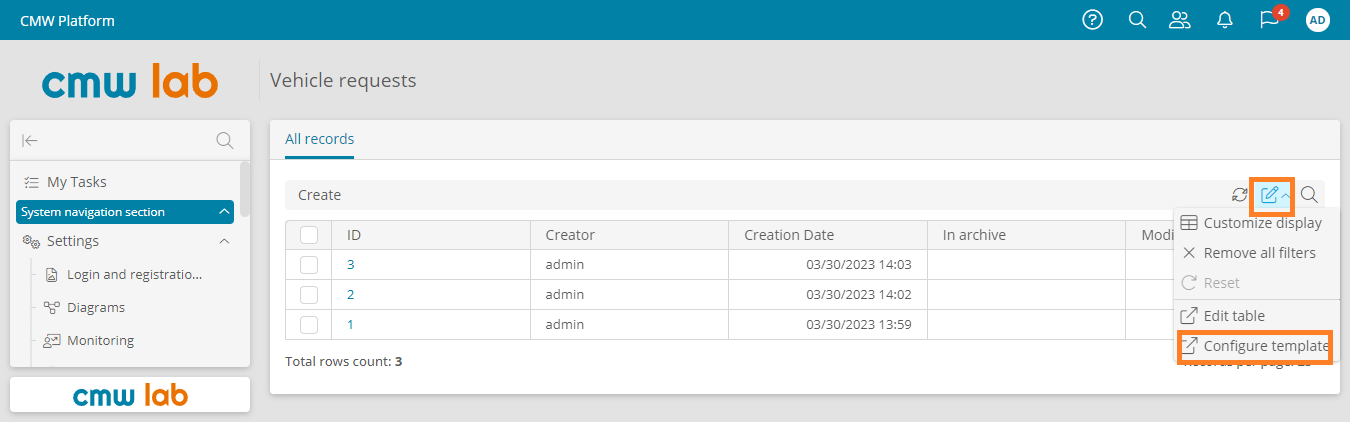
Navigating to the record template settings from the table
2. Go to the Attributes tab and click Create.
Adding an attribute
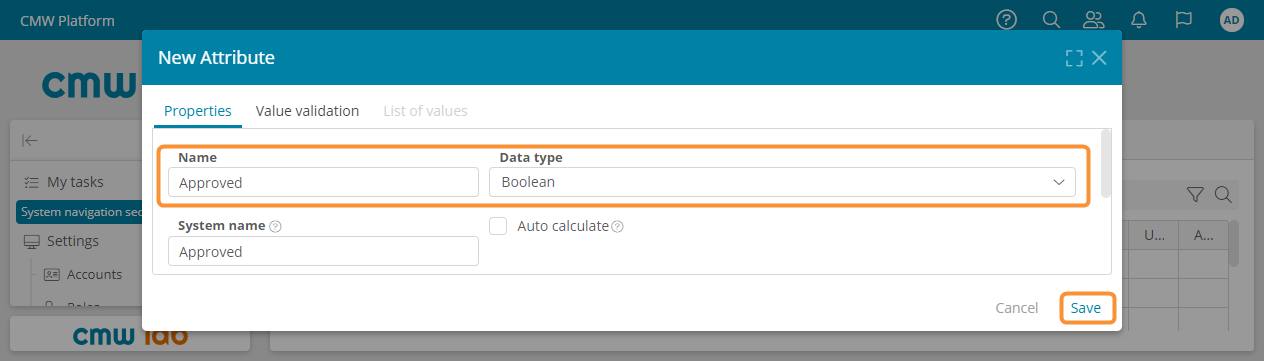
3. In the New attribute window, enter the attribute Name — Approved, set Boolean data type, and click Save.
Configuring a new boolean attribute
Configure a Table
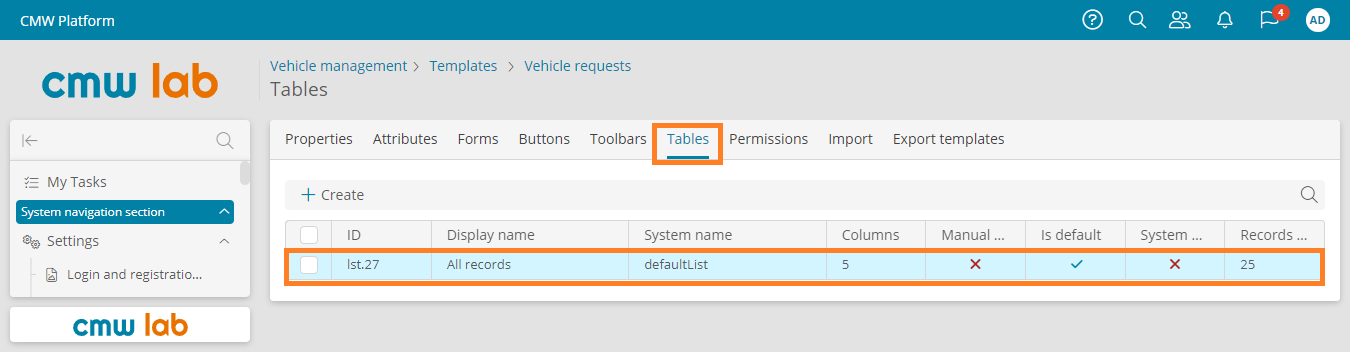
Each template has the default All records table that shows system attributes: ID, Creator, Creation date, In archive, Modified date. The default table is not informative for the end-user. Let's customize the list of vehicle requests displayed in the default table.
1. Go to the Tables tab of the Vehicle requests template and double-click the All records table.
Navigating to the table designer
2. The table designer appears with a list of attributes. Drag and drop the attributes to and from the table layout to configure and reorder the table columns.
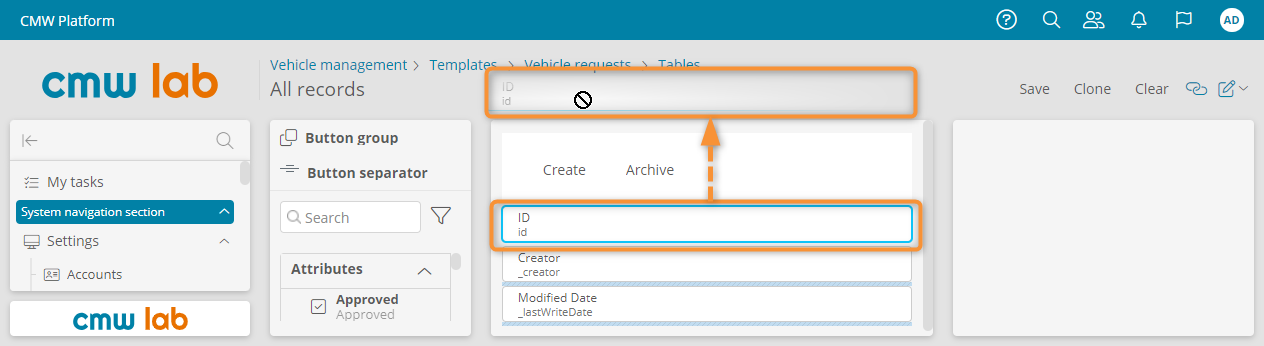
3. Remove the columns that the end-user does not need. Select the ID attribute in the table layout and drag it outside of the layout. In the same way, remove the Creation Date and In archive columns from the table. Leave the Creator and Modified date columns in the table.
Removing the unnecessary attributes from the table
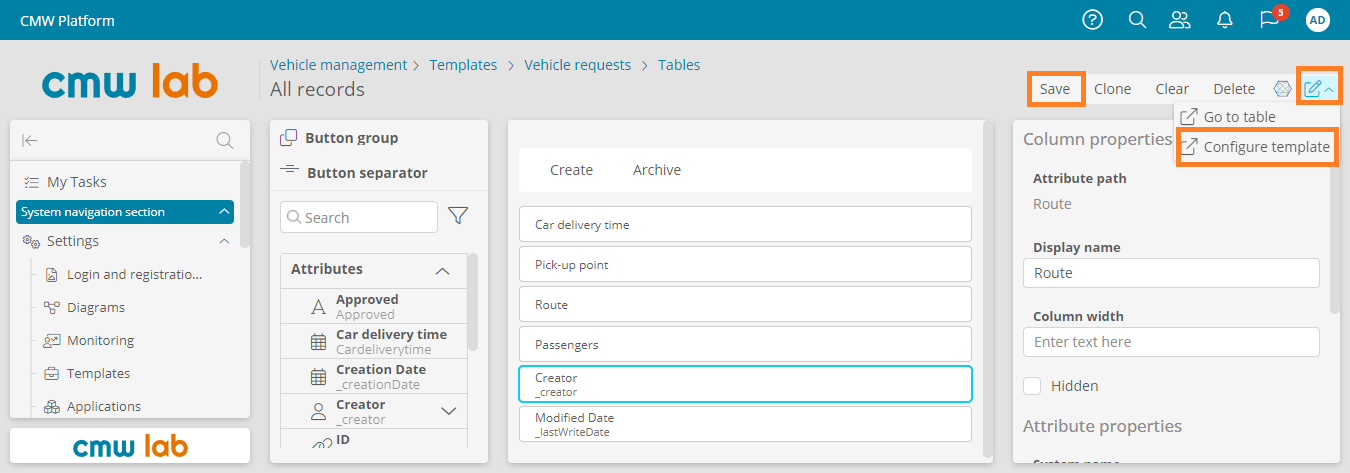
4. Add the relevant columns to the table. The attribute order in the table designer defines the column order: the top item appears as the leftmost column in the table.
5. Drag the following attributes from the element pane to the table layout: Car delivery time, Pick-up point, Route, and Passengers.
6. Click Save to save the default table configuration.
7. Click Configure template to return to the template Properties.
Adding new attributes and saving the table
8. On the template Properties tab, click Navigate to instances to open the vehicle requests list that you configured.
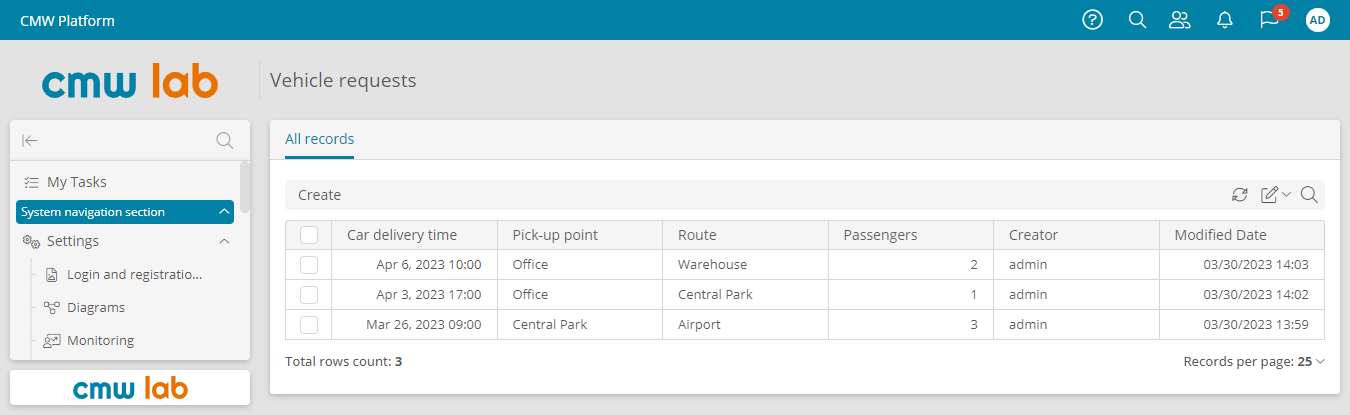
The customized table of records
Search and Filter Records in the Table
Let’s configure the table to filter and reorder the records and then configure grouping and summarization.
Configure Sorting, Filtering, and Grouping for the Current User
Note
This section provides instructions on configuring the table display settings for the current user. These settings are stored individually for each user.
In addition, using the table designer, you can configure the column display options that will be used for all users by default. See Configure Sorting, Grouping, Summarizing, and Filtering for All Users.
Sort Records
Let's sort the vehicle requests by car delivery time.
1. Click the Car delivery time column heading to sort the data by this column: ascending, descending, or default. The sorting order is indicated by a down arrow (descending), up arrow (ascending), or no arrow (default) in the column heading.
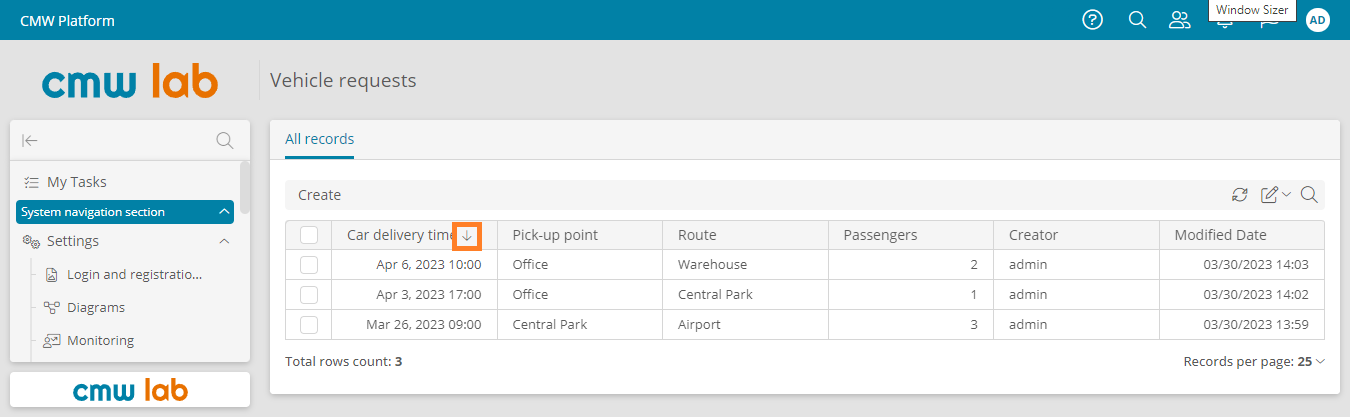
Changing the record sorting order in the table
Filter Records
To display records that contain a specific value, you can use a filter: Equal to or Substring of.
Let's filter the vehicle requests by the route.
1. Click the filter icon in the Route column.
2. In the dropdown, check Filter data and select Substring of.
3. Enter the desired value in the Enter text here field.
4. Click Apply.
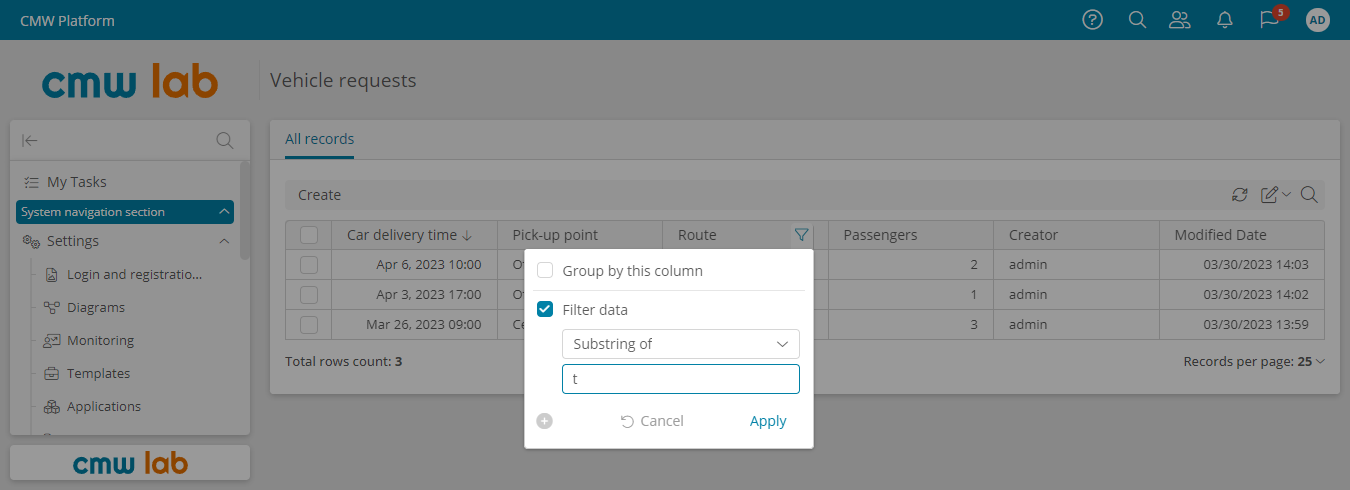
Applying a filter to a table column
5. The records matching your filter will appear in the table.
6. To reset the record filter, click the filter icon in the Route column, uncheck Filter data in the dropdown, and click Apply.
Resetting a table column filter
Group Records
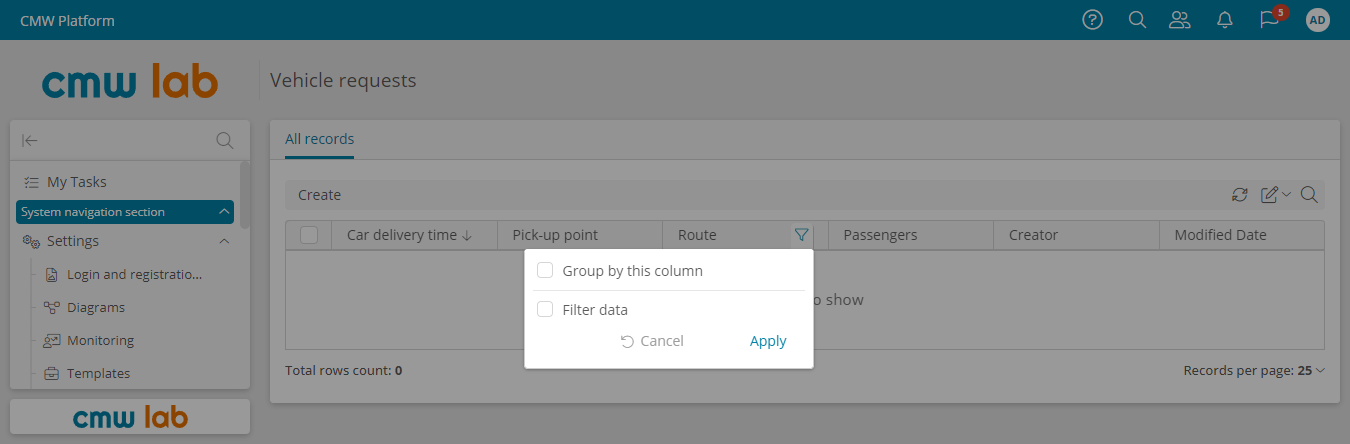
Let's group vehicle requests with the same route.
1. Click the filter icon in the Route column.
2. Select the Group by this column checkbox in the dropdown.
2. click Apply.
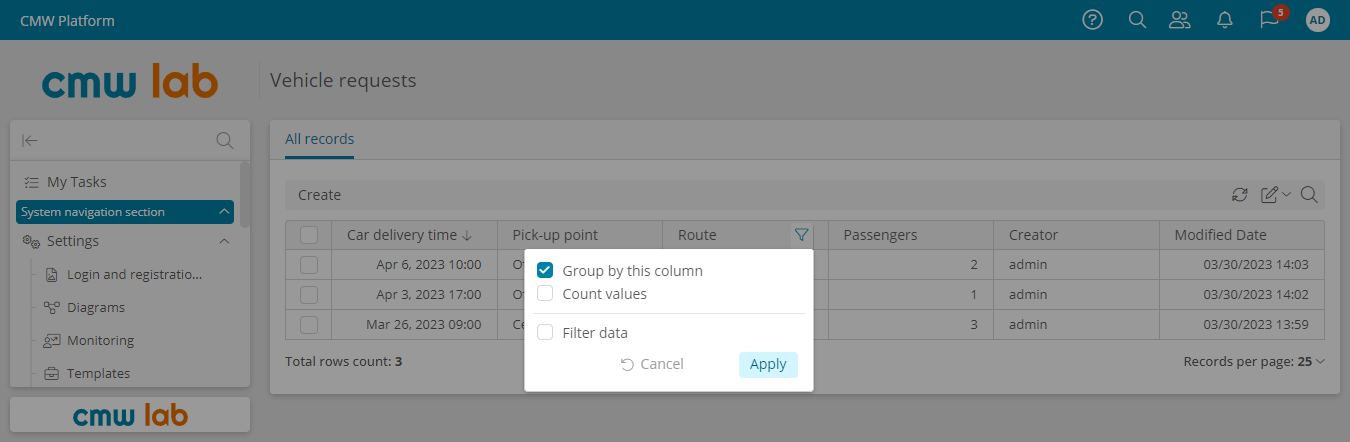
Grouping records by a column value
Hide Column
Let's hide the Modified date column.
1. Click the icon above the table
2. Select Customize display in the dropdown.
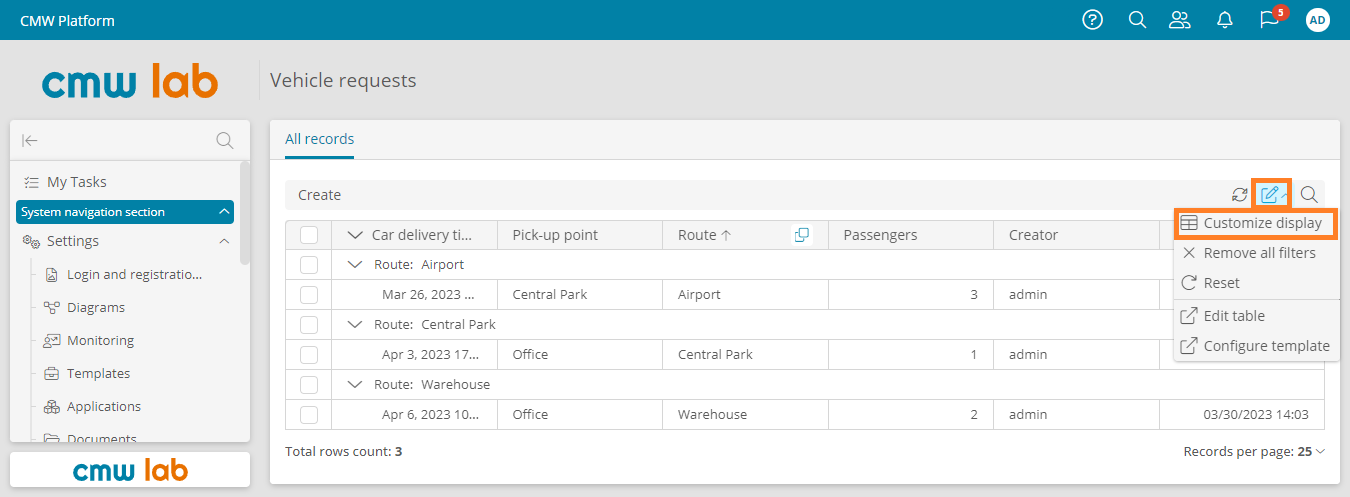
Navigating to the table display customization page
3. The table customization page appears.
4. Clear the Modified date checkbox to hide this column from the table. If needed, click Reset to restore the original table display configuration.
5. Click Save.
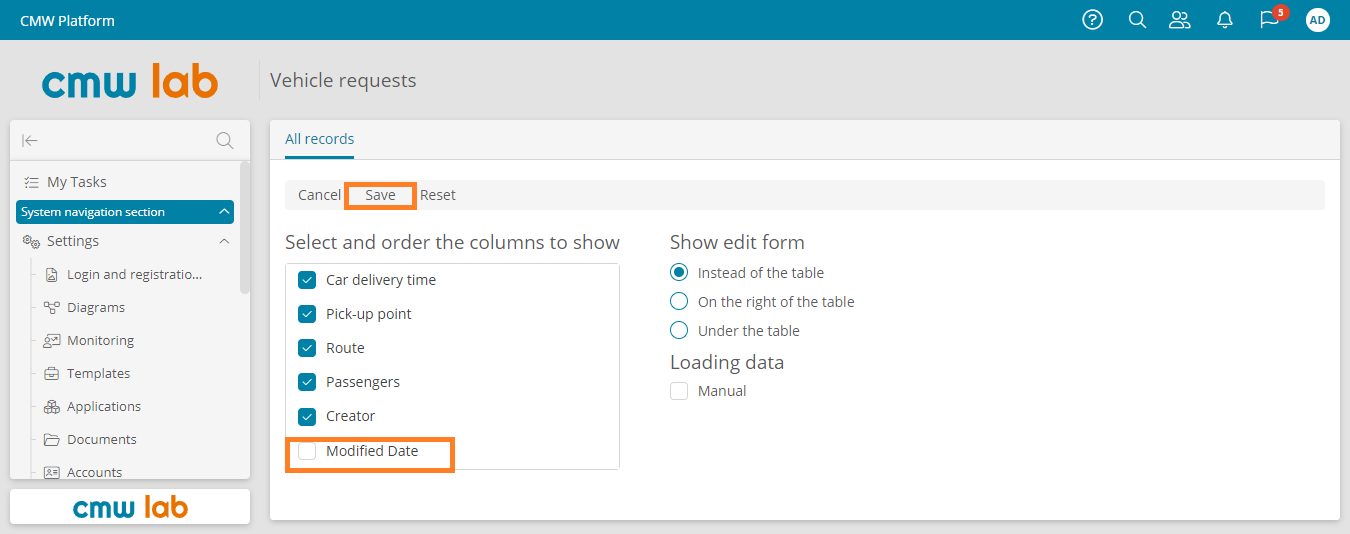
Table display configuration page
Configure Sorting, Grouping, Summarizing, and Filtering for All Users
Note
This section provides instructions on configuring the default table display settings for all users.
In addition, each user can individually customize the table display. See Configure Sorting, Filtering, and Grouping for the Current User.
1. Click the icon and select Edit table from the dropdown. The table designer appears.
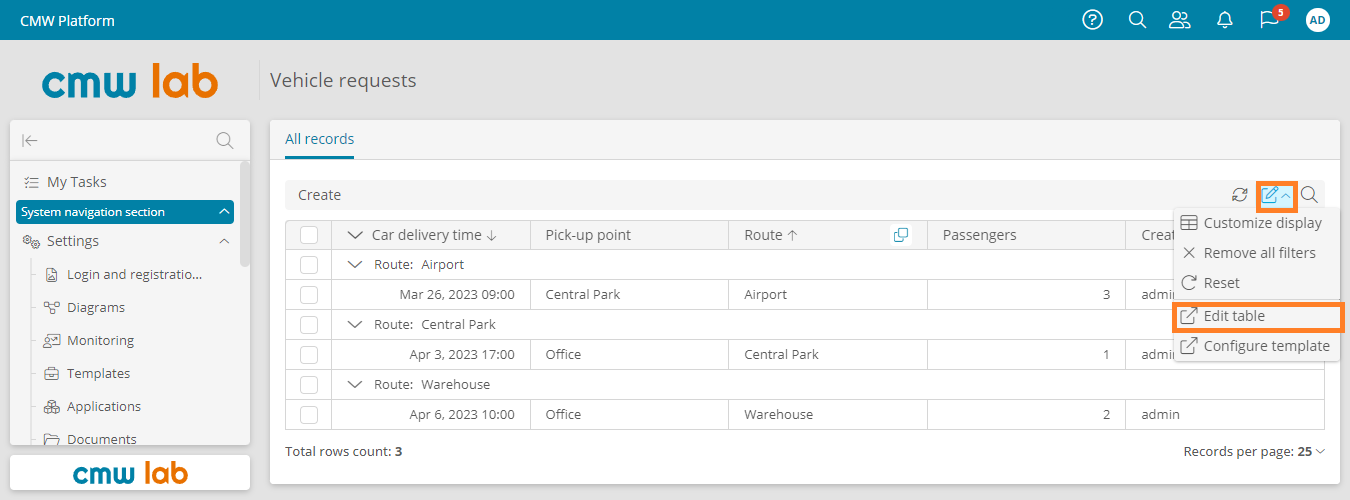
Navigating to the table designer
2. Go to the Advanced tab in the Table properties panel.
3. Drag and drop attributes from the table layout into the Sorting, Grouping, and Filter areas.
4. Configure the table data sorting, grouping, and filtering for all users.
5. Click Save.

Configuring the default table sorting, grouping, and filtering using the table designer
Results
Congrats! You have created your first data registry (record template), designed a form, learned how to fill it out, and configured a table with records.
Proceed to Lesson 3 — My First Business Process) to learn how to design and run a business process.