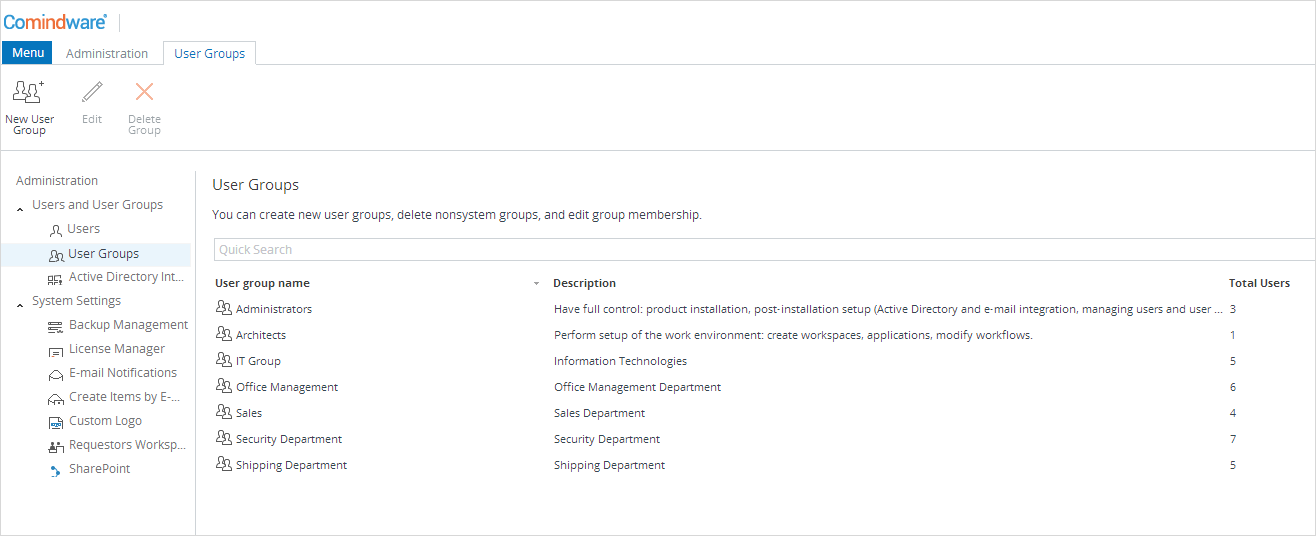
Creating a User Group
Users can be organized into user groups. Besides users, you can add groups into groups. When a group is added into another one, it inherits privileges of its parent group. You can only limit subgroup privileges, but you cannot assign extra privileges that do not belong to a parent group.
To create a user group:
1. Go to «Administration» > «User Groups».
2. Click «New User Group» in the Ribbon.
3. Provide a User group name and a Description for the user group.
4. In the «Membership» section, go to one of the following: «Parent Groups», «Subgroups», or «Users».
5. Select a user/user group to be added to, or removed from the group. To select multiple users and groups, hold down the control key as you click users or groups. Use the «Add» («>») and «Add All» («>>») buttons to add users/groups from the «Available users» and «Available groups» box, and the «Remove» («<») and «Remove All» («<<») buttons to remove the selected users/groups from the «Selected Users» and «Selected Groups» box.
6. When finished, click «Save & Close».

User Groups
